Positioning the Leg for Doll Making
The materials we will need are as follows:
1- Doll pattern
2- Stuffing tools
3- Stuffing fibers
4- Quilting thread the color of body fabric.
5- Quilting needle
6- Curved needle ( I use a beading needle that is curved)
7- sewing machine
To begin with sew the legs as instructed on the pattern leaving the top curve open. Always back stitch at the beginning and end of your work this will make the stuffing more enjoyable.
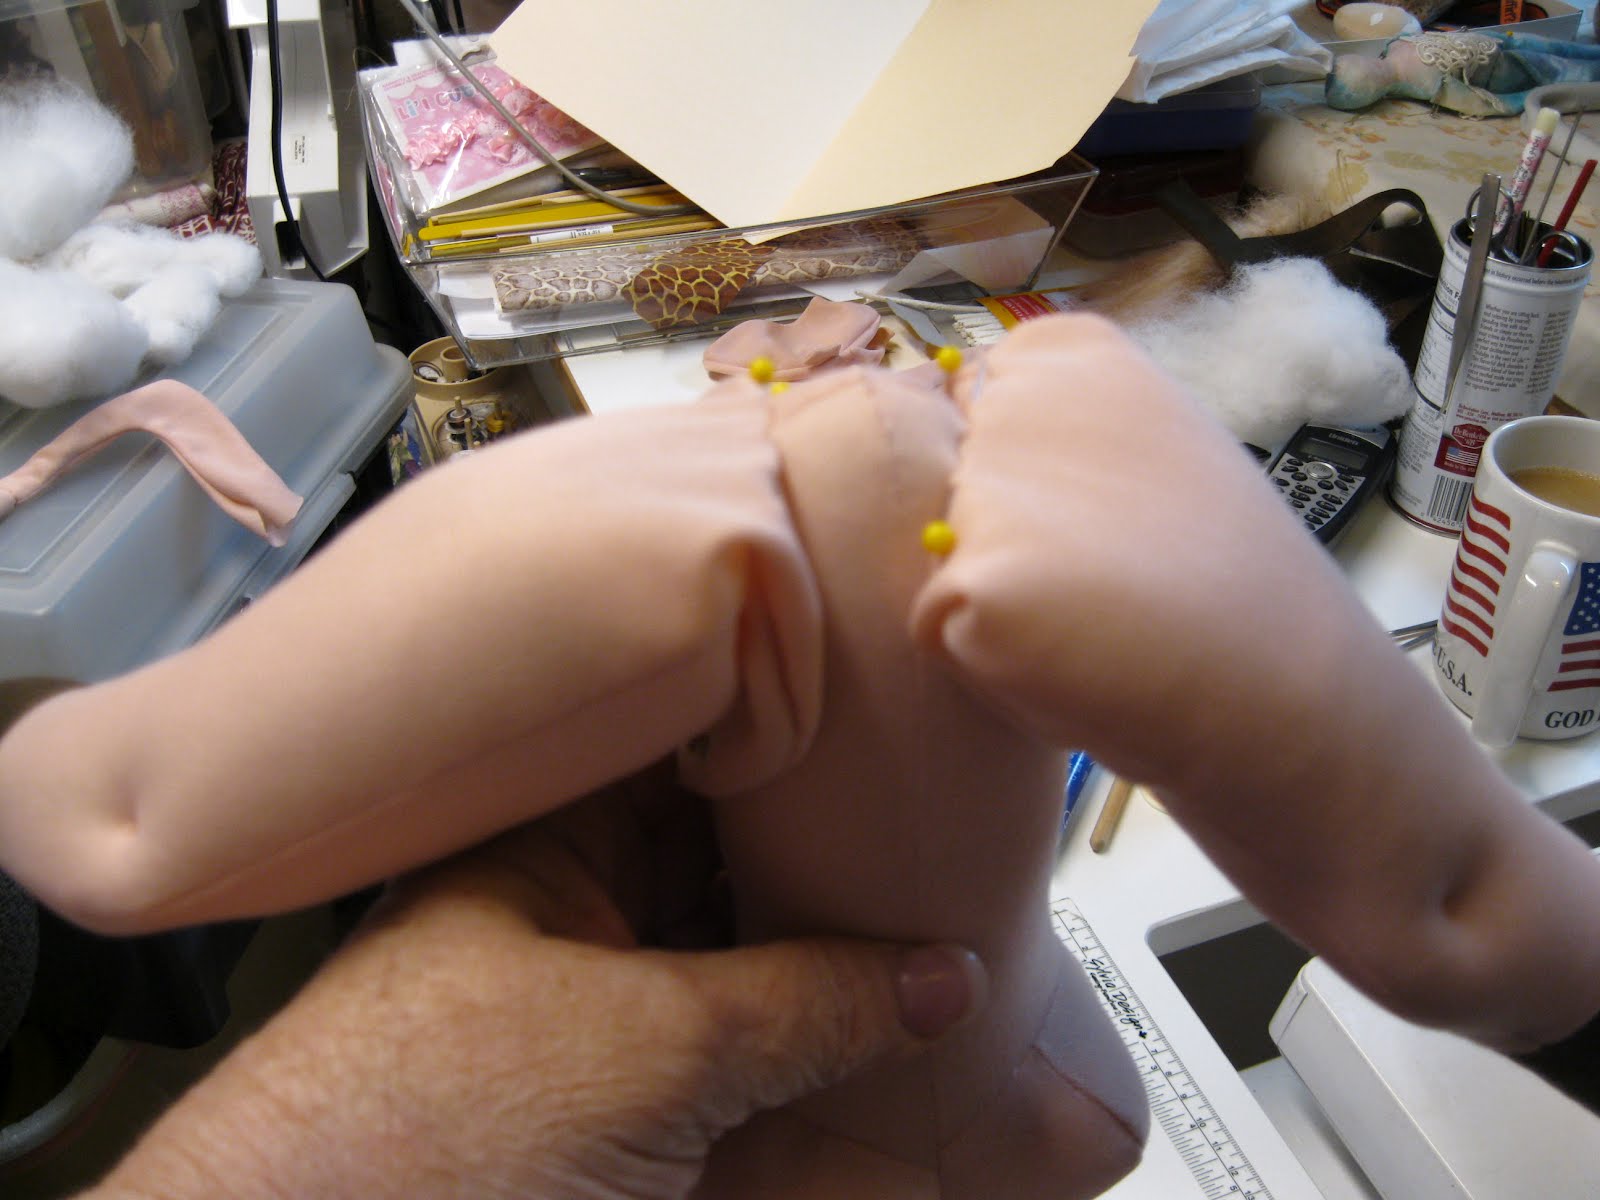
Stuff the leg to just above the knee. Then pin where the top of the leg meets the hip.

If you are going to have one leg higher than the other you will need to pin it in that position at this time.

This both views of the positioning.

Turn your doll upside down at this point. This will make sewing the crotch easier. As you can see sewing the leg a small distance from the center will position them the right space apart.
 Once you have this done turn body right side up.
Note the space between the legs. Now you sew the upper part of the leg to the body.

I fold back the leg to a V position and sew it to the body in the front. This will make the doll look more realistic.

Do the same on the back side this allows room for the added stuffing and a roundness of the back side.

This makes a nice shapely hip and back side for the doll. I am using Arley Berryhill's LeFemme doll.

I pin the leg into position before sewing it down this helps to keep the proper shape on the leg.

The back view.

I sew this point with a beading curved needle it is nice for getting into tight spots.


Now you will finish stuffing the legs and sew them up from the back.

Sewing on the arms id much the same way.

No comments:
Post a Comment